Showing posts with label chicken wire. Show all posts

Saturday, July 1, 2017

Please, Can I Keep It...?


My latest project was taking an old and tired small secretarial desk and giving it new life. My wonderful mother-in-law gave me this piece. She got it from a neighbor, who got it from a local Deseret Industries. It still had the $10 price tag on it. Oh, and it came with some bonus pens! 


I was given this piece last fall, but finally made time to give it a makeover. Deseret Industries is doing a contest to win a gorgeous piano. You just submit a photo of a before and after of something you have given new life to in order to enter. The contest was the perfect incentive to get this piece done! I really wanted this piece for my master bedroom, so I decorated it with that in mind. However, it won't fit. I just can't make it work and have room for a dresser. Guess I'll have to sell it. Sigh

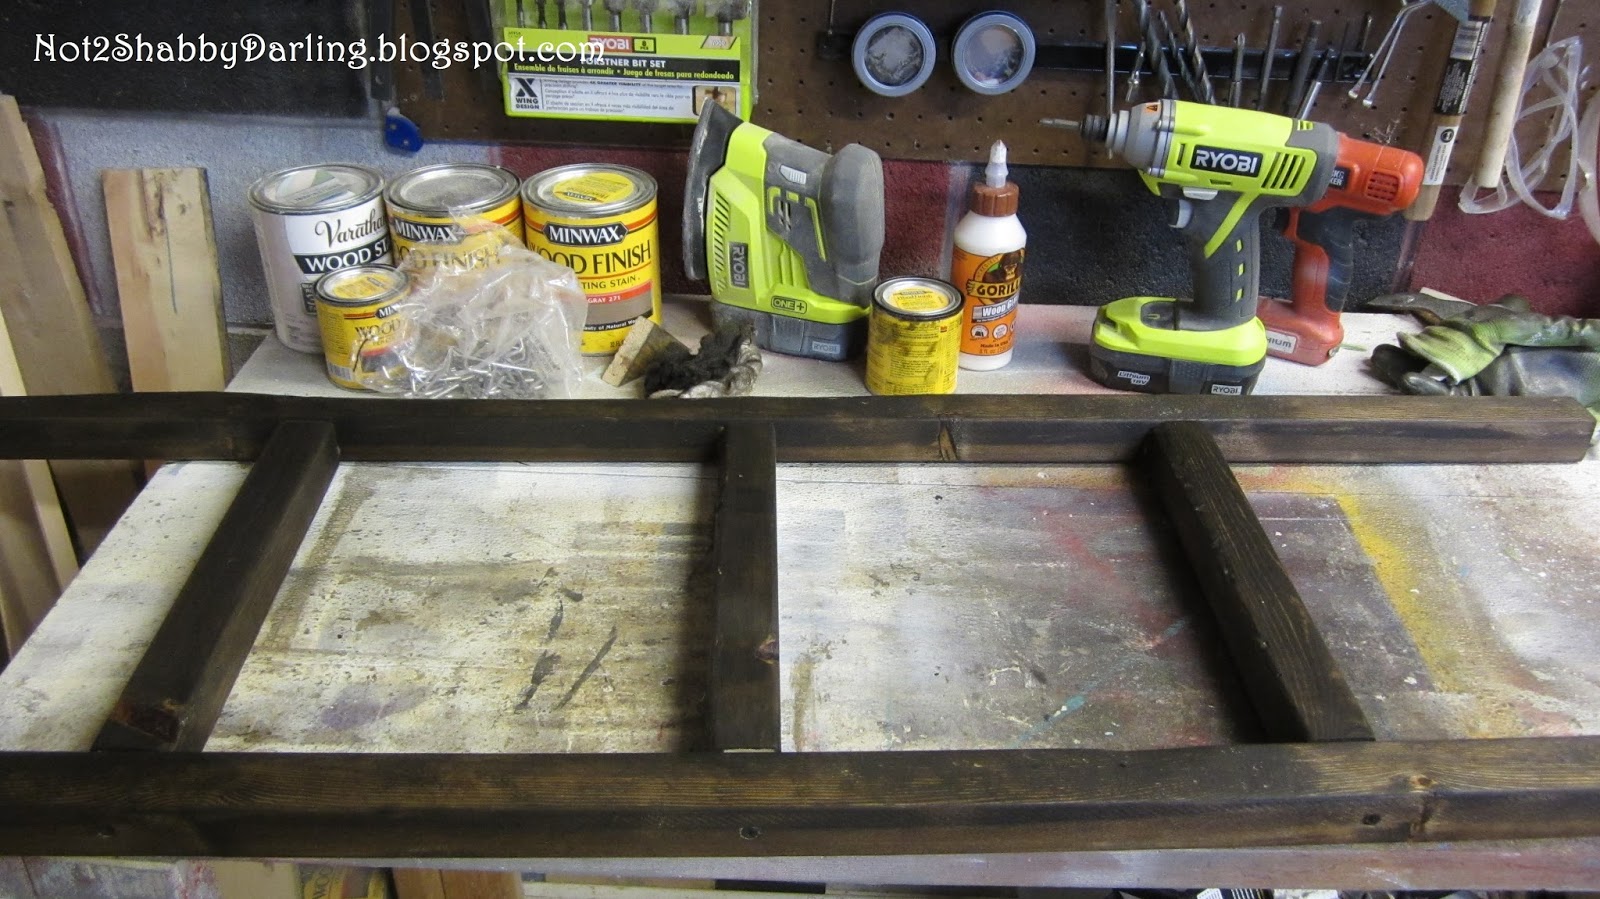
First, I took the piece apart where I could.


Then I gave it a good sanding and cleaning. My Lilly Loo-hoo was the perfect little helper for this part!

Next, I stained and painted. I used Minwax Java stain and a gray paint I got for $2 at Home Depot in the mis-tint section. Score!


I knew I wanted to replace the door insert with hardware cloth. I have been itching to try it! It is similar to chicken wire. I also knew I wanted to use copper accents, so I spray painted the hardware cloth with Hammered Copper.


Apparently, I decided not to take more photos of the whole process. That, or I simply forgot. I even kept the camera near me to remind me. I must have needed the space in my brain for something more important. Unfortunately, I don't remember what.

Anyhoo, I ended up building a new door for this piece. The original one had already been fixed multiple times, and it was just easier to make a new one. I used the old door to mark where the hinges should go. I attached the hardware cloth with a staple gun.


As I was staging for photos, my 17 year old son handed me one of my pigs. (Yes, ONE of my pigs. I have three. Piggly, Pigglier, and Piggliest.) Since he was trying to be involved and helpful, Piggly is clearly visible. See if you can spot him again in another pic!


I added more copper accents, such as the knobs and corner protectors. Gray, brown and copper may not be every one's tastes, but I love it. Some of the old green shows behind the gray. I think it is perfect, because when copper tarnishes, it turns green. See, it's all tied together!


Isn't it gorgeous! I am trying to convince Hubby that we don't need a dresser in our room so I can keep this beauty. It would look so perfect in the corner with our gray tub chair. Fingers crossed!


Monday, April 17, 2017

In Love With a Ladder...

I fell in love with a ladder. A ladder that isn't used as a ladder. This is the ladder in question:

Old Wood Ladder & Chicken Wire Frame:
Source
I followed the pin to credit the original source, but none was found. That makes me sad. Someone should get credit for their beautiful inspiration. Getting credit is something near and dear to my heart, as you may know. If you want to know the whole story, click here.

Anyhoo, I simply had to make one of these ladders! I love the idea! Just one teensy-weensy problem. I don't have an awesome old ladder hanging around. Guess I'll have to build one!

First I decided what size ladder I wanted. I had some 2" x 2" x 8's. To make it easy, I cut one in half. (To prove that I really do use math later in life, that means 2 pieces of wood 24" long.) Then I cut 3 pieces of the 2" x 2" to 12". I wanted to be able to display an 8 x 10 frame between the rungs.


Next I made marks where I wanted the rungs to be, evenly spaced. I forgot to write down the exact measurements, sorry.  I used a counter sink drill bit to drill holes for the 2 1/2" screws. Using a counter sink bit will make sure the screw head doesn't stick out from the wood. We don't want a Frankenstein ladder, do we?


Time to assemble the ladder. I used wood glue to hold everything in place and let it dry. I feel it's easier to screw together if the ladder is already one piece. 


I used my Ryobi driver to attach the screws.


Time for some stain! Once again, I used Minwax Jacobean stain. 


When the stain was all dry, I sanded down the edges to give the ladder an "aged" or "worn" look. I then added some semi-gloss clear coat to "wake-up" the wood. When that was done, I measured out some chicken wire. This stuff is fun to work with, but can be sharp. Wear gloves and use wire cutters to get the amount you want. 


The chicken wire was too shiny for my taste, so I whipped out some black spray paint. I just happened to grab my can of High Heat paint, not because I plan on heating the wire, it was just the first can of black I saw. I wasn't meticulous in making sure the black paint covered everything. I just wanted to tone down the "newness" of the wire. 


For the next part, I grabbed my staple gun. I then added staples to the back of the ladder to hold the chicken wire in place. 


I also added some D-ring hardware (no picture, sorry) to hang the ladder on the wall. I added the hardware so that the ladder can hang horizontal or vertical. Or the ladder can just lean against a wall. 

I thought the ladder was missing something, so I added some fun decorative metal pieces. 


I also stuck some clothes pins on the wire to hang pictures, notes, memos, reminders, etc. 


I am very happy with how it turned out! What do you think?