Showing posts with label shelf. Show all posts

Monday, April 10, 2017

Quick and Easy...

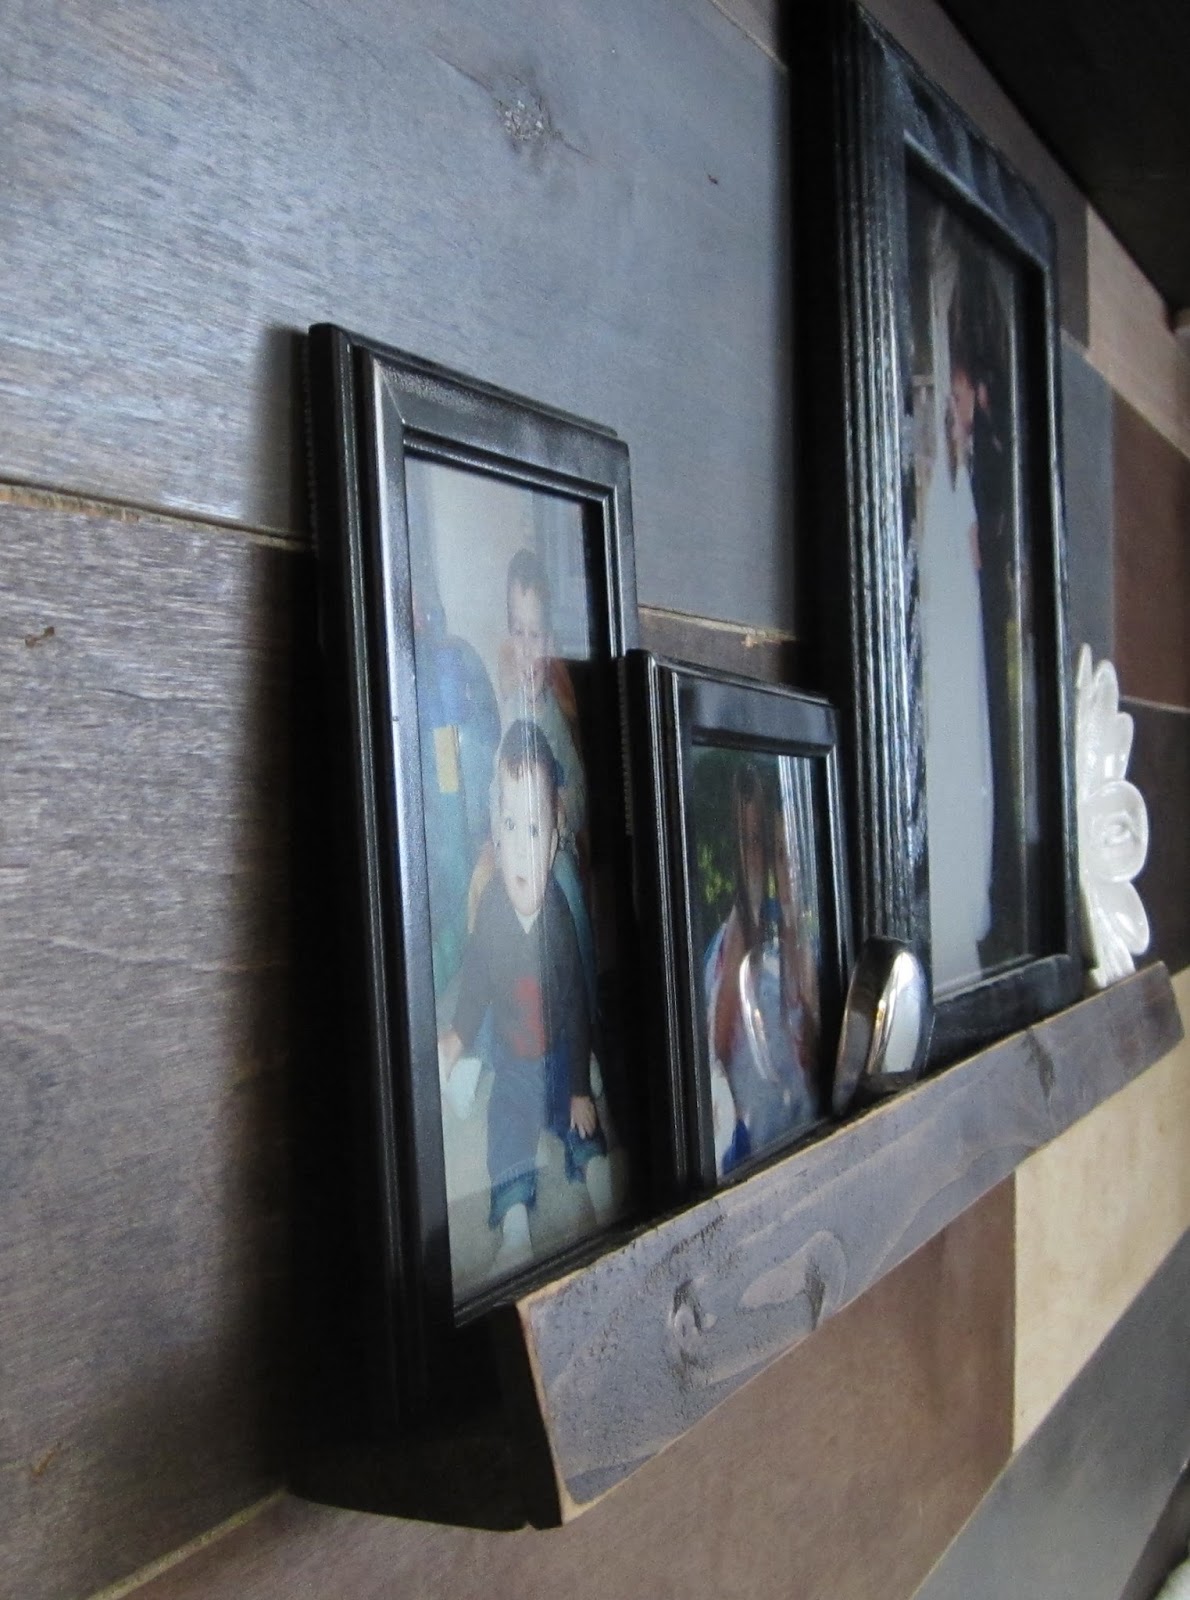
Today's project is quick and easy to put together. I wanted a "ledge" shelf to hold picture frames for our master bedroom. I wanted something more stylish than some frames hanging on the wall. I also didn't want to put holes in my new pallet wall. Not a simple spackle and paint job for holes in a pallet wall. 

Speaking of my pallet wall, I will post about that later. The wall is done, but I have some building projects to add first. I want to have a big reveal!

Moving on...

Step 1:

Decide how long you want your shelf to be. I just kinda' guesstimated on mine, but it ended up about 22" long. I used scrap wood molding and a piece of wood lathe for this project. Cut the pieces to be the same length. I then sanded the pieces to smooth and clean them. (Using my fabulous Ryobi sander!)


Step 2:

Paint or stain the wood to a color you want. I used Minwax Jacobean stain. This is the longest part of the project, because you have to wait for the stain to dry. What is that saying, "like waiting for paint to dry?" Yup


Step 3:

Using wood glue, put the 2 pieces of wood together lengthwise at a right angle. It should form an "L" shape in profile. Use clamps to tightly hold the wood together. Wood glue takes 30 minutes to dry, so be patient. Or, if you are a mom of 4 kids, get distracted for a couple of days before getting back to this quick project. Either dry time will work!


Step 4:

I used small "L" brackets and attached them to the bottom of my shelf. Then, mark your wall where you want the shelf to go and attach the other side of the bracket to the wall. I used 2 brackets, but if you are doing a longer shelf, you may want to add more brackets.


TIP: If you are centering the shelf, measure more than once! Remember how I said I didn't want holes in my pallet wall? Well, there will be if I fix my shelf placement. Yup. The best laid plans, etc., etc.

Isn't it beautiful? And, you get a peek at my pallet wall!


Wait! Before you go, I have to show you my organized peg board wall! It is a work in progress, but I have been asking Hubby to hang this peg board for a year very long time. All it took was him getting a 3D printer to print peg board hanger clips...


Seriously though, thank you to my sweet, thoughtful, hardworking Hubby!

Tuesday, January 24, 2017

A Reclaimed Life...

What exactly is "reclaimed wood?" Well, in my humble opinion, it is any wood you rescue from scrap, junk, being destroyed, or dying a slow death in a grassy field. Wood that is just waiting for you to come along and see that it still has some worth. No one wants to be cast aside when they no longer look nice, or have served their original purpose, right? Some of the most beautiful wood I have played with just needed a little TLC. 

My very handsome older brother and his extremely talented wife are in the process of remodeling their home. They have a large backyard and a wood pile they want to have disappear. (They also will have lots of scrap trim for me soon. Woo-hoo!) Before they hauled it away, they offered to let me have whatever I wanted. Happy dance! 

Most of the wood was in very good, time-worn condition. It only needed a quick sanding and cleaning with a metal brush. Underneath the grime and age was gorgeous wood! This stuff was fantastic to work with! I made so many different creations, including 2 custom orders!

Here are some of the creations:

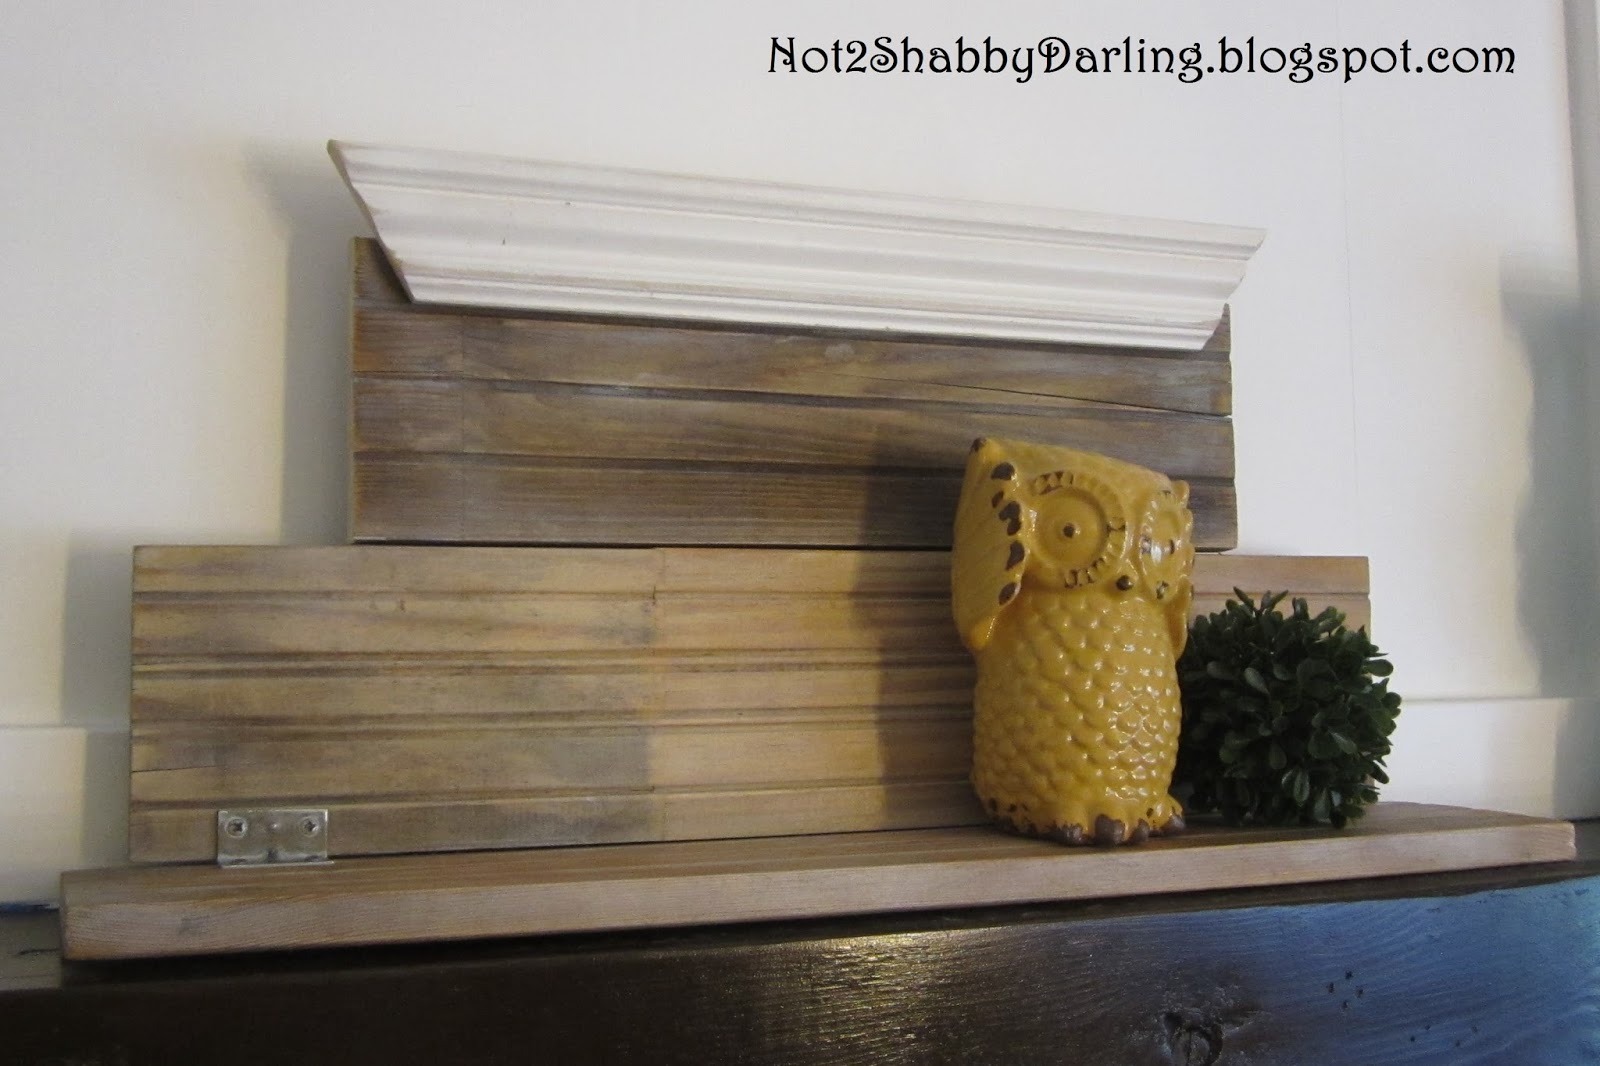
I call this one "Crown Shelf." (painted)
"Crown Shelf" natural.
"Hi-Low Box"
"Drawer Box"
Large Mirror
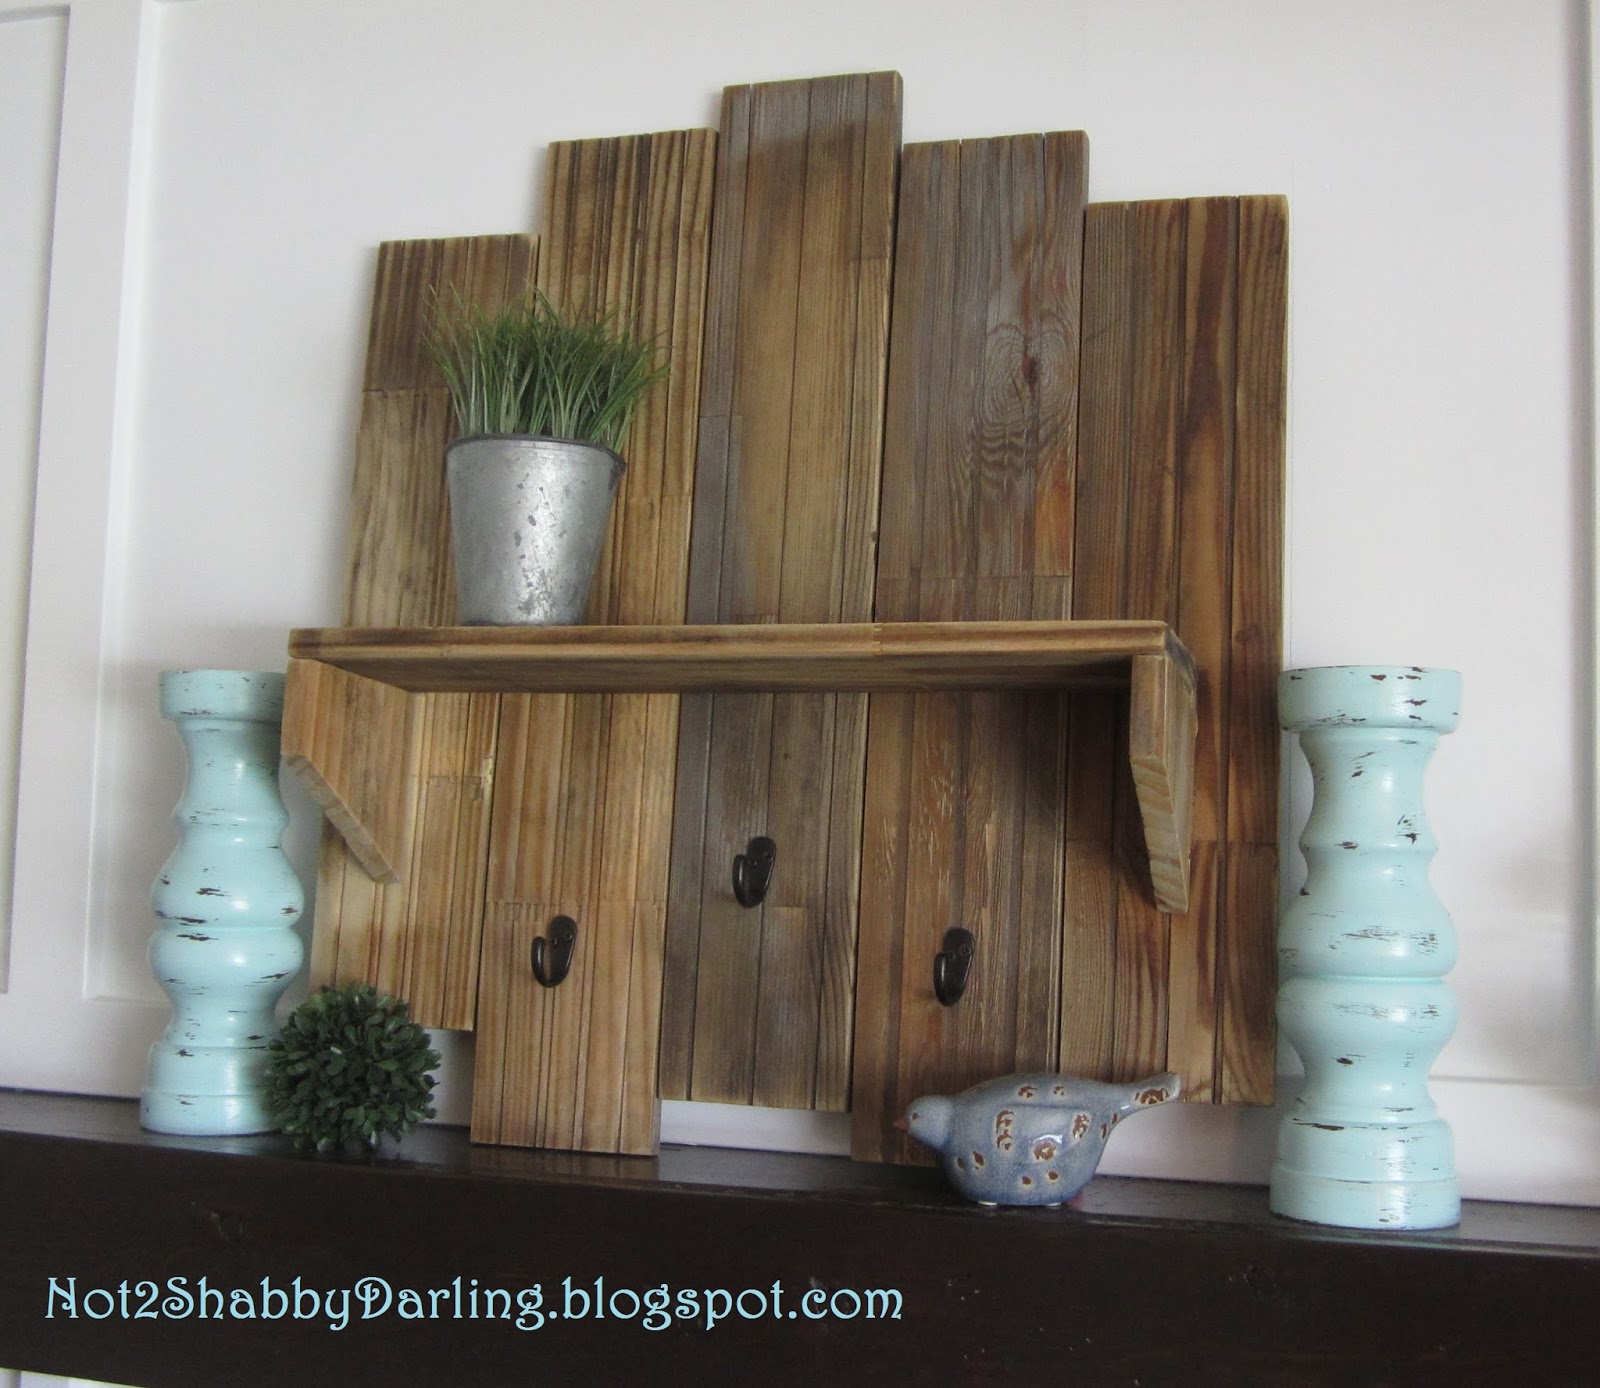
A simple shelf.
Entryway Mirror (with a mini chalkboard).
"Skinny" shelf.
Shelf with dowel.
Large shelf.
Whitewashed shelf.
Entryway organization center with leather accents.

This was a custom shelf ordered by the same lady
who bought the shelf  above.
Another custom order.
I am not one to brag, but aren't they gorgeous! I love giving old/neglected wood a new life!

P.S. If you happen to have any sad and lonely wood that needs a new home, please, give me a call!