
Speaking of my pallet wall, I will post about that later. The wall is done, but I have some building projects to add first. I want to have a big reveal!
Moving on...
Step 1:
Decide how long you want your shelf to be. I just kinda' guesstimated on mine, but it ended up about 22" long. I used scrap wood molding and a piece of wood lathe for this project. Cut the pieces to be the same length. I then sanded the pieces to smooth and clean them. (Using my fabulous Ryobi sander!)

Step 2:
Paint or stain the wood to a color you want. I used Minwax Jacobean stain. This is the longest part of the project, because you have to wait for the stain to dry. What is that saying, "like waiting for paint to dry?" Yup

Step 3:
Using wood glue, put the 2 pieces of wood together lengthwise at a right angle. It should form an "L" shape in profile. Use clamps to tightly hold the wood together. Wood glue takes 30 minutes to dry, so be patient. Or, if you are a mom of 4 kids, get distracted for a couple of days before getting back to this quick project. Either dry time will work!

Step 4:
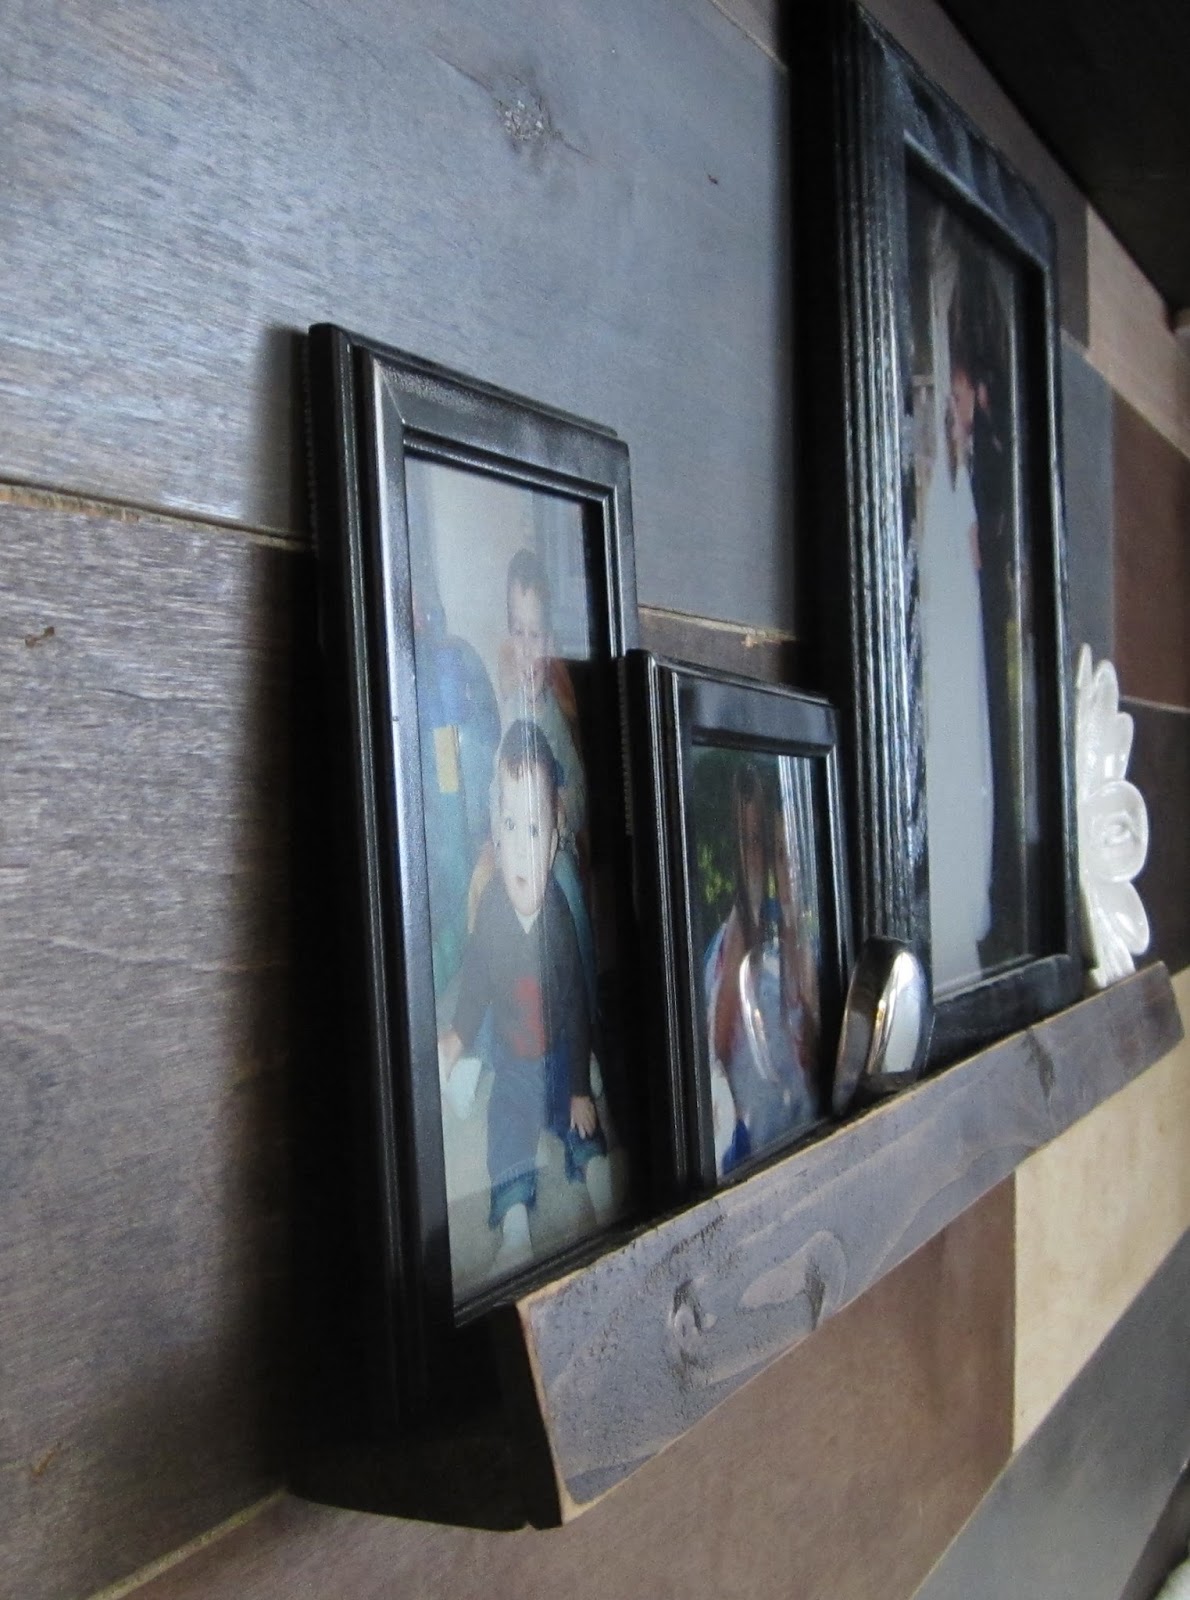
I used small "L" brackets and attached them to the bottom of my shelf. Then, mark your wall where you want the shelf to go and attach the other side of the bracket to the wall. I used 2 brackets, but if you are doing a longer shelf, you may want to add more brackets.

TIP: If you are centering the shelf, measure more than once! Remember how I said I didn't want holes in my pallet wall? Well, there will be if I fix my shelf placement. Yup. The best laid plans, etc., etc.
Isn't it beautiful? And, you get a peek at my pallet wall!

Wait! Before you go, I have to show you my organized peg board wall! It is a work in progress, but I have been asking Hubby to hang this peg board for a

Seriously though, thank you to my sweet, thoughtful, hardworking Hubby!

No comments:
Post a Comment